To improve the accessibility of our content, please find the audio version of this blog post.
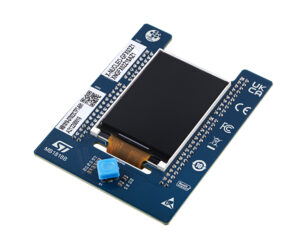
ST is launching today TouchGFX 4.18 with a new widget to help developers run videos in their designs and new features to make collaboration around text easier. We are also releasing two new display expansion boards. The X-NUCLEO-GFX01M2 is compatible with SPI Display and 64-pin Nucleo boards like the NUCLEO-WB55RG. The X-NUCLEO-GFX02Z1 supports a parallel interface, QSPI flash, and 144-pin Nucleo boards, such as the new NUCLEO-U575ZI-Q. And if we summed up the spirit that drove this new version of TouchGFX in one word, it would be “interactions”. Let us, therefore, look at how TouchGFX 4.18 improves interactions with users and interactions between developers.
TouchGFX 4.18, Interacting with Users through Videos
The Challenge of Using Videos in UIs for Embedded Systems
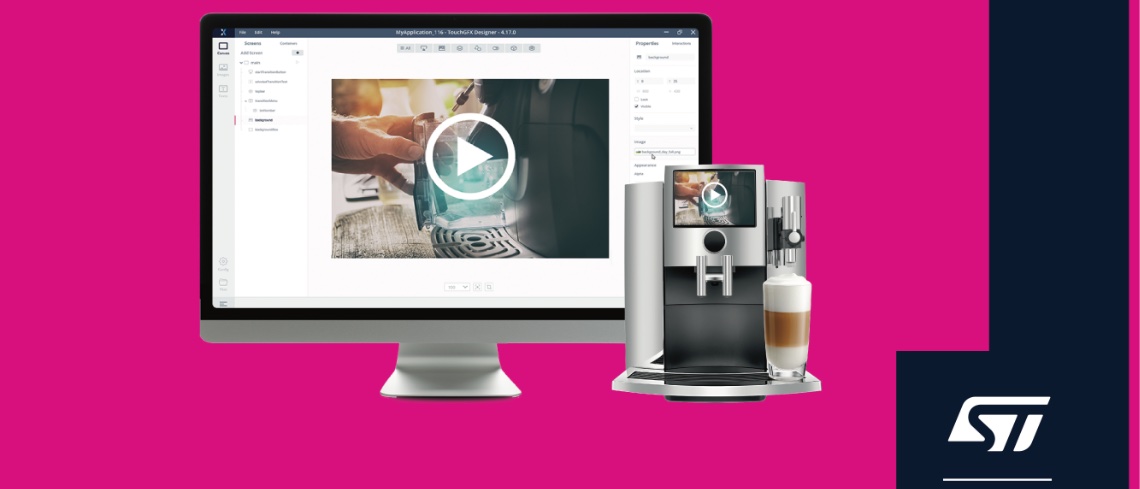
The desire to bring videos to more UIs is a natural consequence of the growing popularity of displays on embedded systems. As more products get a screen, companies want to use them to better interact with their users. And in many instances, showing a video trumps any other form of interaction. For example, a clip on how to clean a coffee machine is far more impactful than a written list of steps, and a short animation on how to unjam a printer will serve customers a lot more than a warning image.
The problem was that before the video widget in TouchGFX 4.18, developers had to do all the heavy lifting. Playing a video within the UI was always possible, but coders had to manage all aspects of the process themselves. Among the many challenges, teams had to implement a video buffer, figure out what codec would work best on their microcontroller, and determine how to take advantage of hardware acceleration if it was present on their device. The endeavor is so demanding that many TouchGFX users requested a video widget that would vastly simplify their workflow.
3 Steps to Implement Videos in UIs for Embedded Systems
Thanks to the video widget, inserting a video within a UI now only demands three basic steps. First of all, users go to the top widget menu on TouchGFX Designer, choose “Miscellaneous”, and select “Video”. From there, developers can choose the size and position of the video as well as its fundamental properties. For instance, they can select a video source to see the file play within TouchGFX Designer. Teams can also set a few behaviors, such as looping or auto-play.
Secondly, a utility within STM32CubeMX will enable teams to configure their video buffer. It’s possible to entirely omit the buffer, which is helpful if RAM is a severe constraint. However, while this option doesn’t use any RAM, it also means that the application cannot overlay any buttons on top of the video. Otherwise, developers can use one or two video buffers. One is enough to overlay a button, and two offer the best performance but also require the most RAM. The plugin system is thus here to help developers test their UI as efficiently as possible as they determine the best compromise for their embedded system.
Thirdly, developers that are moving toward production code will decide where to place the video file. When inserting the video with the widget, TouchGFX Designer loads the file with the other graphical assets. The reason is that it makes prototyping a lot simpler. However, in most cases, teams will want to store their file on an SD card or an embedded flash module and grab it only when needed. The optimization is thus vital as it will avoid overloading the system.
3 Steps to Get a Compatible Video into TouchGFX Designer 4.18
Another aspect that the TouchGFX 4.18 video widget simplifies is the video processing workflow. Many developers struggle to find the best codec, data rate, and resolution for their embedded systems. Indeed, constraints inherent to microcontrollers mean it’s impossible to take a video off a smartphone or camera just and play it. However, with the launch of the new widget, the ST teams updated the TouchGFX documentation to provide critical references. One of the main specifications is that the video must use the Motion JPEG codec in an AVI container, and while there are many different tools to obtain such a file, here’s a workflow example
1. Download our test file
To rapidly test the new TouchGFX 4.18 video widget, download this MP4 file entitled Coffee-Demo.mp4. Its resolution of 320 x 240 will fill up the 2.2-inch displays of one of our expansion boards.
2. Convert the file to MJPEG and use an AVI container
The next step is to convert that file to a compatible MJPEG format. To do this, we’ll use the free application FFmpeg. Those unfamiliar with it can use the following guide to install it. The application is free and extremely practical. Indeed, it enables the conversion of the demo MP4 file with only one command line:
ffmpeg -i Coffee-Demo.mp4 -c:v mjpeg -q:v 10 -an Coffee-Demo.avi
For those unfamiliar with FFMPEG, -c:v selects the codec, and -q:v defines the quality. For Motion JPEG, the numbers go from 2 to 31 with a lower value corresponding to a better quality. Finally, the -an option stops the application from importing the audio stream. Those who can’t use FFmpeg right now can download our converted demo file.
3. Load the video file into TouchGFX Designer 4.18
The last step is to call the video widget within TouchGFX Designer 4.18 and insert the new video. It is impossible to give precise video specification for each microcontroller. Depending on the resources used, such as background processes and memory utilization, capabilities can vary widely. However, based on rough estimates, developers working on an STM32H7 should be able to enjoy a resolution of 800 x 480 while an STM32F7 should allow for 480 x 272, as long the file uses a JPEG codec.
TouchGFX 4.18, Interacting with Developers Through Better Collaboration
New XML File for Text
To improve interactions between developers, TouchGFX 4.18 optimizes collaboration around text. Traditionally, all text is stored in an Excel file that teams can export. The format makes it easy to work with various translators around the world. However, managing changes can be a problem. Indeed, instead of using version control systems, such as Git, teams have to manually handle changes and make sure no one inadvertently overwrites someone else’s work, which can be cumbersome. To solve this problem, TouchGFX 4.18 now stores all text in an XML file. The new format will make merging operations and conflict resolutions a lot simpler. However, TouchGFX 4.18 also includes an XML to Excel converter. Indeed, Excel files remain popular when exporting text for review or translation. Hence, we ensured developers could still export to Excel and then import their Excel file back into TouchGFX and its XML format.
New Single-Use Text ID Strategy
Improving collaboration among developers also meant updating single-use text. Traditionally, TouchGFX Designer stores text in a database that assigns a reference ID to specific content. As a result, when developers want to call a particular text, they use its ID. However, when a text has a single purpose, storing it in the database is wasteful. Hence, TouchGFX allows for single-use text by assigning it a “special ID”. Unfortunately, under the previous system, it was possible for programmers working on the same project to generate the same “special ID”, which would create conflicts. TouchGFX 4.18 thus introduces a new system that produces a much more random string. As a result, it’s now nearly impossible for two single-use text IDs in the same project to be identical.
Another optimization present in TouchGFX 4.18 is that project files are smaller, making them much easier to merge and potentially share. Traditionally, the text file stores all parameters in a JSON format. The issue was that the file could get quite large. ST, therefore, decided to optimize it by only storing custom settings. Anything that isn’t in the file is, therefore, treated as using a default value. Consequently, the file itself is much smaller, making merging operations on Git far simpler and faster.
TouchGFX 4.18 Supports with 2 New Display Expansion Boards

To celebrate the launch of TouchGFX 4.18, ST is releasing two new display expansion boards. The X-NUCLEO-GFX01M2 is the descendant of the X-NUCLEO-GFX01M1 that we launched with TouchGFX 4.15. Both still have an SPI 2.2-inch QVGA (320 x 240) display and support SPI flash, and both target bills of materials of about five dollars. However, while the X-NUCLEO-GFX01M1 supports only selected 64-pin Nucleo kits, the X-NUCLEO-GFX01M2 is compatible with a broader range of 64-pin systems. As a result, the new system supports development boards like the NUCLEO-WB55RG, which simplifies the development of Bluetooth applications. The X-NUCLEO-GFX01M2 will be available for order during week 48.
ST is also launching the X-NUCLEO-GFX02Z1, our first display expansion board to support a parallel interface, QSPI flash, and Nucleo boards with 144 pins. The platform targets microcontrollers with more power, which explains the compatibility with interfaces that offer higher bandwidths. Developers can use the X-NUCLEO-GFX02Z1 with the NUCLEO-U575ZI-Q that came out with the first STM32U5s. It thus enables engineers to take advantage of the better performance-per-watt ratio of the new MCU to create user interfaces that weren’t possible on previous generations of STM32s. Additionally, we are updating the X-CUBE-DISPLAY expansion software package, which allows the use of our display expansion boards without necessarily using TouchGFX.
